Now you will want to remove the wires connecting the controllers and the front buttons to the board. They should just pull out since there is no clips or anything holding them in but a small flat head screwdriver makes it a lot easier to pry them out. For me the two smaller controller connections came out without a problem but the blue plug was really stubborn. Unfortunately I forgot to take a good picture of this step but it should be pretty straight forward.
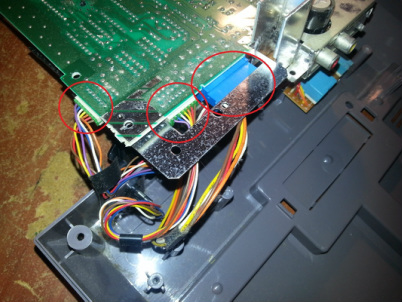
Unplug these three bundles.
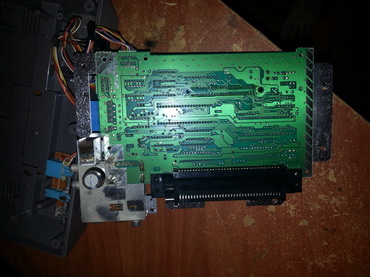
After you have the wires out of the way you can remove the bottom sheet metal cover and your ready to remove the old connector. All you need to do is pull it off the board. They are simply press fit together to make a mechanical connection, don't be afraid to pull it with a little bit of force if it is stubborn.
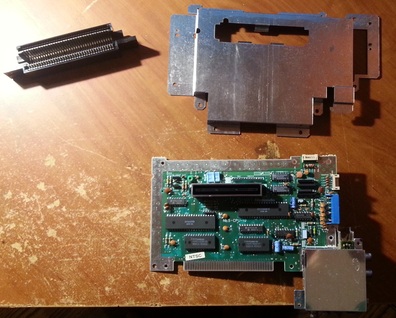
Completely disassembled main board
To clean the pads on the main board I first rubbed them with a Scotch bright pad. You want to do this very carefully as not to damage them more and only rub on the big rectangular portions. After that I polished them a little bit with 1500 grid sand paper. Do this with very little pressure as well so you wont break any traces. To finish it off clean everything with a paper towel with a little bit of acetone or some other solvent that leaves no residue (I used carburetor cleaner). Don't forget to clean the connection on both sides of the board.
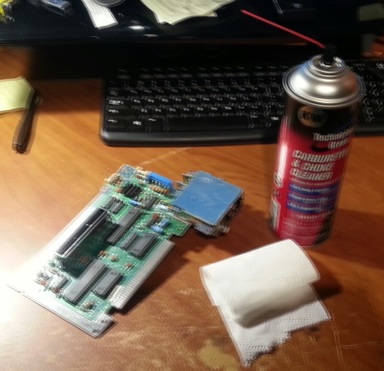
Use a scrubbing pad, sand paper, and solvent to clean the connecting pads.
Next I cleaned everything with compressed air to get the dust off. You want to blow out all the parts since most likely there will be a considerable amount of dust everywhere. If your using an air compressor make sure there is no water in your air hose since moisture and electronics don't mix well. If you use canned air then you have nothing to worry about, you can also use a vacuum for this and do the reverse thing. Now install the new connector by simply sliding it onto the main board. Make sure that you put it on in the correct orientation, with the taller part sticking up towards the top of the board.