To reassemble the whole thing just follow the steps backwards. First put on the bottom metal cover onto the main board and connect the three wire bundles. I found it the easiest to first place the main board back into the bottom case and then lift the front slightly to slide in the loading mechanism. I had to play around with it a little to get it back in but once everything was lined properly it went in without a hitch so just take your time with this step. Now replace the eight screws that hold the main board and the loading mechanism to the bottom half. After that replace the top metal cover followed by the six screws that hold it in place and your almost done!
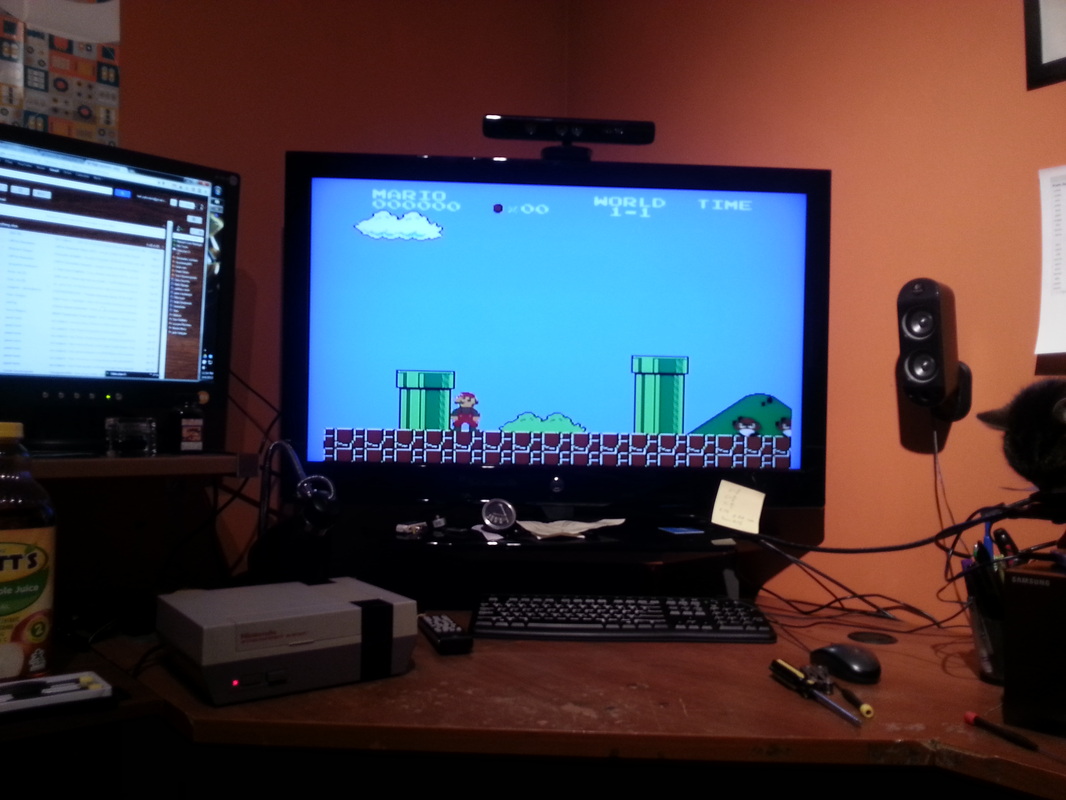
Before putting the top cover on its a good idea to test the system just to check if everything is connected properly. If you are going to do this make sure to clean the cartridge first so you wont dirty the brand new connector. I cracked it open by removing the five screws on the back and followed the same cleaning steps as with the main board connection in order to clean it.
Before putting the top cover on its a good idea to test the system just to check if everything is connected properly. If you are going to do this make sure to clean the cartridge first so you wont dirty the brand new connector. I cracked it open by removing the five screws on the back and followed the same cleaning steps as with the main board connection in order to clean it.
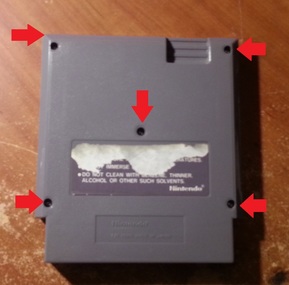
Unscrew here
If you connected everything correctly your Nintendo should be back in business. Just replace the top cover, screw in the last six screws and that's it. You have successfully fixed your Nintendo. The only thing you have left to do is to clean all your games to keep the connector clean. If you start putting dirty games in you will end up with the same situation.